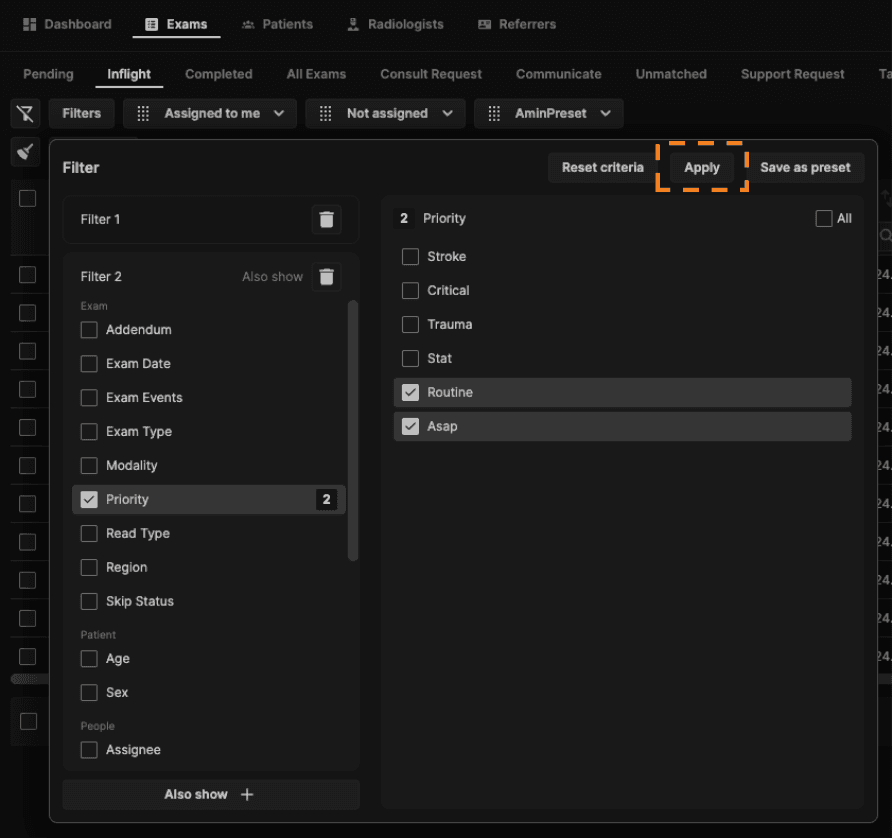
1. Click on the "Filters" button.
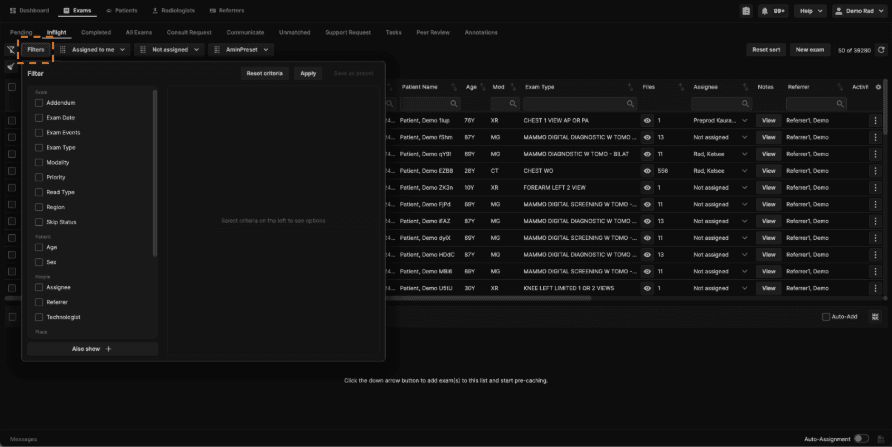
2. Select a main criteria item on the left panel to view available options. The left panel is grouped by Exam, Patient, People, and Place categories:
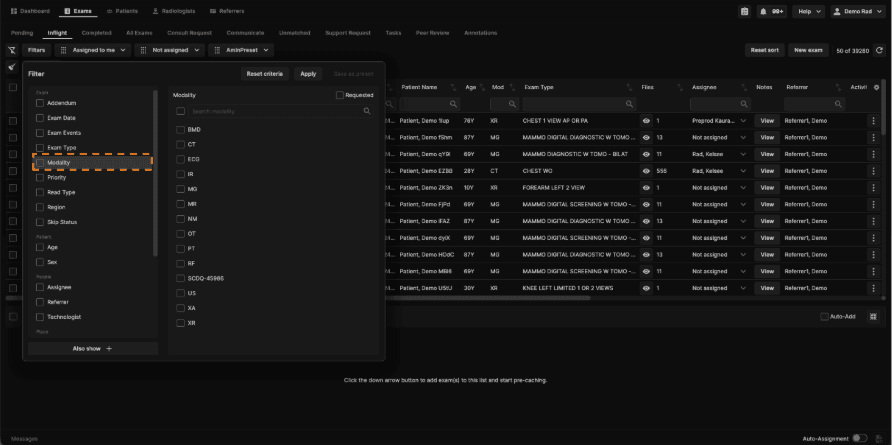
Exam
Exam Date
Exam Events
Exam Type
Modality
Priority
Read Type
Region
Skip Status
Addendums (Yes/No)
Tags
Patient
Age
Sex
People
Assignee
Referrer
Technologist
Place
Department
Facility
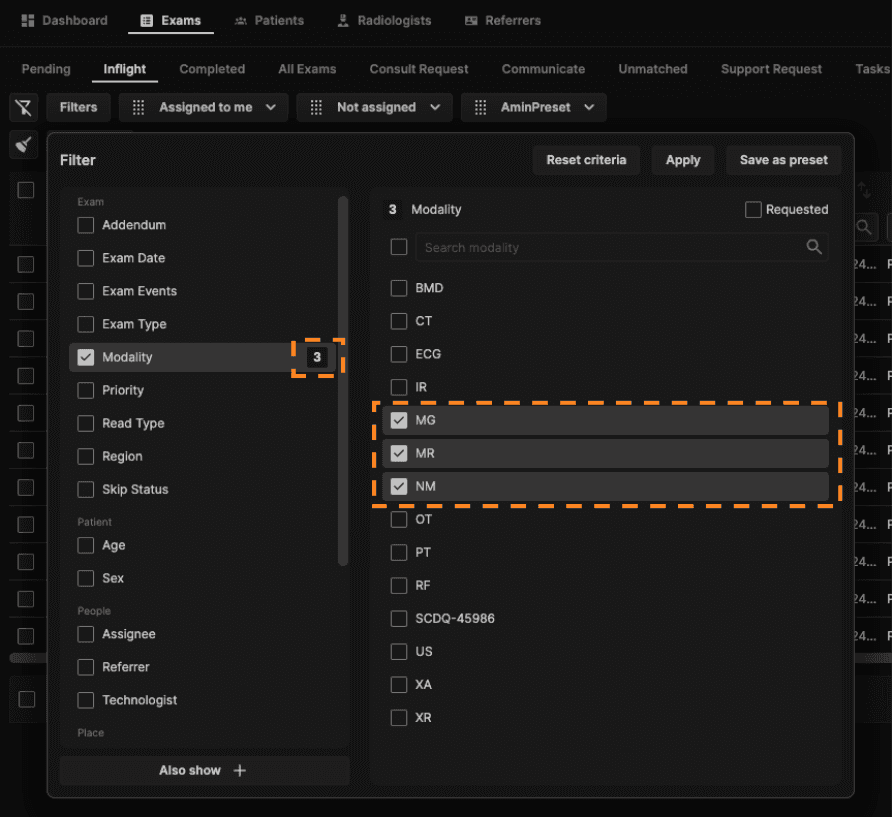
3. Select the necessary options. A number will appear next to the main criteria item to show the amount of options selected within that main criteria item.
For the Sex filter, choose one or more of the three options (Female, Male, Intersex/Other) from the dropdown. There is no keyword search for this filter.
For the Tags filter, select No Tags (the first option in the list) to show only exams that have no tags applied.
4. You can create different groups of criteria with the "Also show +" button at the bottom of the left panel.
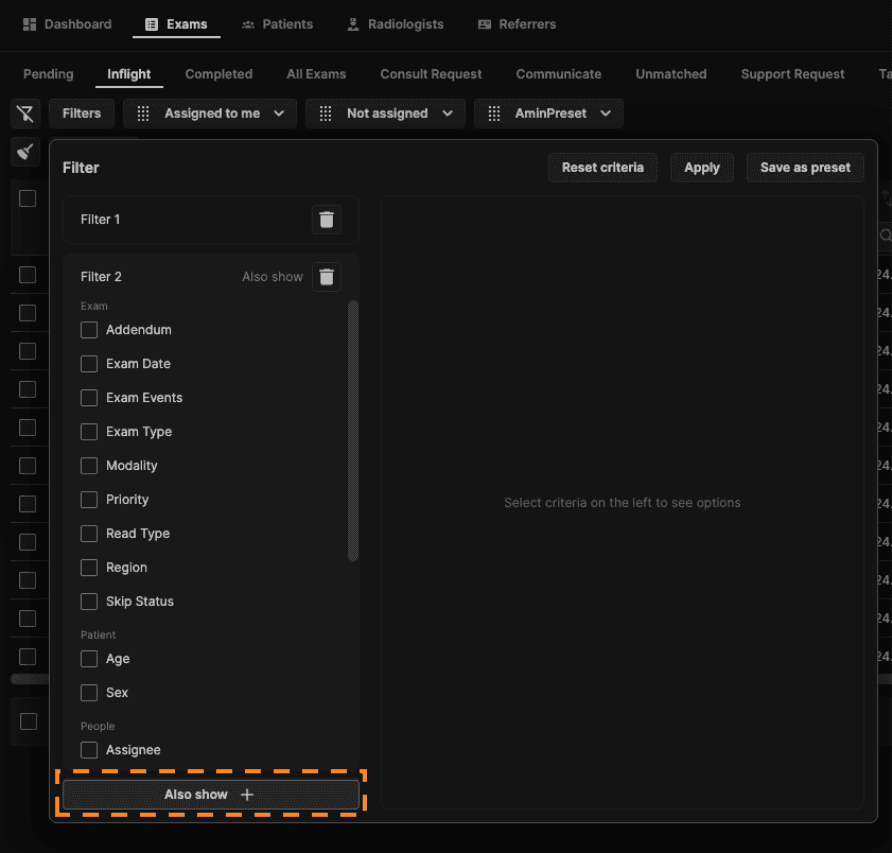
5. Click "Apply" to apply the filter and close the window.
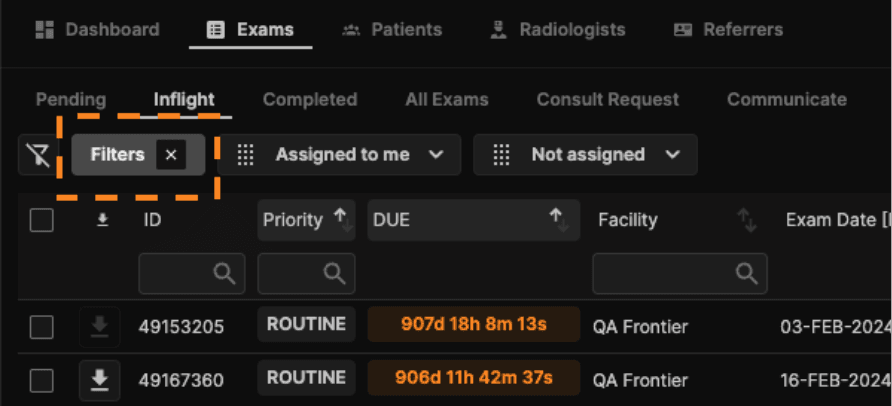
6. If the "Filters" button is highlighted, this means a filter is applied. To edit the applied filter, click on the button. To remove the applied filter, click on the "X."
Filter availability by tab
Most filter categories are available across all tabs (Inflight, Completed, Unmatched, Support Request, Communicate, and All Exams), but a few filters are tab-specific:
Addendums — available on Completed and Inflight.
Signed (SDT) — available on the Communicate tab, alongside the existing Signed column and sort option.
Unmatched > Exams sub-menu — filter options now match the default Orders page configuration (same as Pending, Consult, and Support Request). The Unmatched > Images sub-menu keeps its own filter configuration, designed specifically for images.
Support Request tab — now has its own dedicated filter presets, separate from the general Orders filters.